
How to Use Blender: A Comprehensive Guide to 3D Modeling
Are you ready to dive into the exciting world of 3D modeling, animation, and rendering? Blender, the powerful and free open-source 3D creation suite, offers a vast array of tools and capabilities for artists, designers, and hobbyists alike. But where do you begin? This comprehensive guide will take you from absolute beginner to confident Blender user, covering everything from the interface and basic modeling to advanced techniques and rendering. We’ll provide step-by-step instructions, practical examples, and expert tips to help you unlock Blender’s full potential. Unlike other tutorials, we focus on building a solid foundation of understanding *why* things work the way they do, not just *how* to click buttons. Get ready to unleash your creativity and bring your 3D visions to life!
What is Blender and Why Use It?
Blender is more than just a 3D modeling program; it’s a complete 3D creation suite. This means it encompasses everything you need to create stunning visuals, from modeling and sculpting to animation, rendering, compositing, and even video editing. Originally developed by Ton Roosendaal at NeoGeo in the Netherlands, Blender has evolved into a community-driven project supported by the Blender Foundation. Its open-source nature means it’s free to use, distribute, and modify, making it accessible to everyone.
Why choose Blender over other 3D software? Here are a few compelling reasons:
* **It’s Free:** Blender is completely free to download and use, with no hidden costs or subscription fees. This makes it an ideal choice for students, hobbyists, and small businesses with limited budgets.
* **It’s Powerful:** Despite being free, Blender offers a comprehensive set of features comparable to commercial software packages. It can handle complex projects with ease.
* **It’s Cross-Platform:** Blender runs on Windows, macOS, and Linux, ensuring compatibility with your existing hardware.
* **It Has a Large and Active Community:** Blender has a vibrant and supportive community of users who are always willing to help newcomers. You’ll find a wealth of tutorials, resources, and add-ons available online.
* **It’s Constantly Evolving:** The Blender Foundation is constantly improving Blender, adding new features and fixing bugs. This means you’ll always have access to the latest tools and technologies.
Recent trends in the 3D industry show a growing adoption of open-source tools like Blender, driven by their cost-effectiveness, flexibility, and community support. Blender is increasingly used in professional environments for animation, visual effects, game development, and architectural visualization.
Understanding the Blender Interface
Navigating the Blender interface can be daunting at first, but once you understand the basic layout, it becomes much easier to use. The interface is divided into several key areas:
* **The 3D Viewport:** This is where you’ll spend most of your time, interacting with your 3D models. You can rotate, zoom, and pan the view to get the perfect perspective.
* **The Outliner:** This panel displays a hierarchical list of all the objects in your scene, allowing you to easily select, organize, and manage them.
* **The Properties Editor:** This panel contains all the settings and parameters for the selected object, including its material, texture, modifiers, and animation data.
* **The Timeline:** This panel is used for animation, allowing you to control the timing and keyframes of your objects.
* **The Tool Shelf:** Located on the left side of the screen, this panel provides access to a variety of tools for modeling, sculpting, and editing your objects.
* **The Header:** Located at the top of each editor, the header contains menus and buttons for common operations, such as saving, opening, and rendering your scene.
Mastering navigation is crucial. Use the middle mouse button to rotate the view, Shift + middle mouse button to pan, and the mouse wheel to zoom. Experiment with different view modes (Wireframe, Solid, Material Preview, Rendered) to see how your models look in different lighting conditions.
Customizing the Interface
One of Blender’s strengths is its highly customizable interface. You can rearrange panels, create custom workspaces, and assign keyboard shortcuts to your favorite tools. This allows you to tailor the interface to your specific workflow and preferences. We recommend experimenting with different layouts to find what works best for you.
Basic 3D Modeling Techniques in Blender
Blender offers a wide range of modeling tools for creating 3D objects. Here are some of the most commonly used techniques:
* **Primitive Modeling:** This involves starting with basic shapes (cubes, spheres, cylinders, etc.) and then modifying them to create more complex forms. This is a great way to learn the fundamentals of modeling.
* **Extrusion:** This technique involves extending a face or edge along a specified direction to create new geometry. Extrusion is commonly used to create walls, pipes, and other elongated shapes.
* **Loop Cuts:** This technique allows you to add new edge loops to your model, which can then be used to refine its shape and add detail.
* **Subdivision Surface Modeling:** This technique involves subdividing the faces of your model to create a smoother, more organic look. Subdivision surface modeling is commonly used for creating characters and other organic shapes.
* **Sculpting:** Blender’s sculpting tools allow you to directly manipulate the surface of your model, like working with digital clay. This is a great way to create detailed and organic forms.
Example: Modeling a Simple Cup
Let’s walk through a simple example of modeling a cup using primitive modeling and extrusion:
1. **Add a Cylinder:** In the 3D Viewport, press Shift + A to add a cylinder.
2. **Scale the Cylinder:** Press S to scale the cylinder down to the desired size.
3. **Enter Edit Mode:** Press Tab to enter Edit Mode.
4. **Select the Top Face:** Select the top face of the cylinder.
5. **Extrude the Face:** Press E to extrude the face upwards to create the height of the cup.
6. **Scale the Top Face Inwards:** Press S to scale the top face inwards to create the rim of the cup.
7. **Extrude the Bottom Face Inwards:** Select the bottom face, press I to inset, then E to extrude inwards to create the base.
8. **Smooth the Edges:** Add a Subdivision Surface modifier to smooth the edges of the cup.
This simple example demonstrates the power of primitive modeling and extrusion. With practice, you can use these techniques to create more complex and detailed models.
Materials and Textures in Blender
Materials and textures are essential for giving your 3D models a realistic and visually appealing look. Materials define the surface properties of your model, such as its color, reflectivity, and roughness. Textures are images that are applied to the surface of your model to add detail and visual interest.
Blender offers a powerful node-based material system that allows you to create complex and realistic materials. You can use a variety of nodes to control the different properties of your material, such as its color, texture, and shader. The Principled BSDF shader is a versatile and physically based shader that can be used to create a wide range of materials.
Adding Textures
To add a texture to your model, you’ll need to create a new material and then add a Texture node to the material. You can then connect the Texture node to the appropriate input of the Principled BSDF shader. Blender supports a variety of texture formats, including JPEG, PNG, and TIFF.
UV Unwrapping
Before you can apply textures to your model, you’ll need to UV unwrap it. UV unwrapping is the process of projecting the 3D surface of your model onto a 2D plane. This allows you to paint or edit textures that will accurately map onto your model. Blender offers a variety of UV unwrapping tools, including automatic unwrapping and manual unwrapping.
Animation in Blender
Blender is a powerful animation tool that allows you to create a wide range of animations, from simple character animations to complex visual effects. Blender’s animation tools include:
* **Keyframing:** This involves setting keyframes at different points in time to define the position, rotation, and scale of your objects.
* **Drivers:** Drivers allow you to control the properties of one object based on the properties of another object. This can be used to create complex and dynamic animations.
* **Armatures:** Armatures are used to control the movement of characters and other complex objects. An armature is a skeleton that is used to deform the mesh of your model.
* **Shape Keys:** Shape keys allow you to create different shapes for your model and then blend between them. This can be used to create facial expressions and other subtle animations.
Creating a Simple Animation
Let’s walk through a simple example of creating a bouncing ball animation:
1. **Add a Sphere:** In the 3D Viewport, press Shift + A to add a sphere.
2. **Set the Initial Keyframe:** Select the sphere and press I to insert a keyframe for its location. Set the keyframe at frame 1.
3. **Move the Sphere Upwards:** Move the sphere upwards along the Z-axis.
4. **Set the Second Keyframe:** Insert a keyframe for the sphere’s location at frame 12.
5. **Move the Sphere Downwards:** Move the sphere downwards along the Z-axis so it’s touching the floor plane.
6. **Set the Third Keyframe:** Insert a keyframe for the sphere’s location at frame 24.
7. **Adjust the Timing:** Adjust the timing of the keyframes to create a realistic bouncing motion.
Rendering in Blender
Rendering is the process of generating a 2D image from your 3D scene. Blender offers two main rendering engines: Eevee and Cycles. Eevee is a real-time rendering engine that is ideal for creating quick previews and animations. Cycles is a path-tracing rendering engine that is capable of producing photorealistic images.
Eevee vs. Cycles
Eevee is faster than Cycles, but it is less accurate. Cycles is more accurate than Eevee, but it is slower. The best rendering engine for your project will depend on your specific needs and the desired level of realism. For example, product visualization often demands the realism of Cycles, while game asset previews can benefit from Eevee’s speed.
Rendering Settings
Blender offers a wide range of rendering settings that allow you to control the quality and performance of your renders. Some of the most important rendering settings include:
* **Resolution:** The resolution of your render determines the size of the image.
* **Samples:** The number of samples determines the quality of the render. More samples will result in a cleaner image, but it will also take longer to render.
* **Light Paths:** The light paths setting controls how light interacts with your scene. This can have a significant impact on the realism of your render.
Blender’s Geometry Nodes: A Powerful Tool
Geometry Nodes is a system in Blender that allows you to procedurally generate and modify geometry. This means you can create complex and intricate designs without having to manually model every detail. It’s a visual scripting system where you connect nodes together to define how geometry should be created and manipulated. This is especially useful for creating complex patterns, distributing objects, and generating landscapes.
This tool, while complex, unlocks incredible possibilities for creating dynamic and intricate designs that would be incredibly time-consuming to model manually. Expert users leverage geometry nodes for everything from creating abstract art to generating realistic foliage.
The Best Resources for Learning Blender
* **Blender’s Official Website:** The official Blender website (blender.org) is a great resource for documentation, tutorials, and downloads.
* **YouTube:** YouTube is a treasure trove of Blender tutorials. Channels like Blender Guru, CG Cookie, and Ducky 3D offer high-quality tutorials for beginners and advanced users alike.
* **Blender Stack Exchange:** Blender Stack Exchange is a question-and-answer website where you can ask questions and get help from other Blender users.
* **Online Courses:** Platforms like Udemy and Skillshare offer a variety of Blender courses taught by experienced instructors.
Q&A: Advanced Blender Techniques
**Q1: How can I create realistic cloth simulations in Blender?**
A1: Blender’s cloth simulation tools are quite powerful. Start by creating your cloth object and adding a Cloth modifier. Experiment with the settings, especially the quality steps and collision properties. For realistic results, consider using self-collisions and adjusting the wind and gravity settings. Expert users often use vertex groups to pin certain areas of the cloth, preventing them from moving during the simulation.
**Q2: What’s the best way to create a realistic fire effect in Blender?**
A2: Creating realistic fire involves using Blender’s smoke simulation tools. Start by creating an emitter object and adding a Smoke Domain. Adjust the settings in the Smoke Domain to control the density, temperature, and turbulence of the smoke. Experiment with different fire shader settings to achieve the desired look. Using high-resolution settings and compositing techniques will further enhance the realism.
**Q3: How do I create a looping animation in Blender?**
A3: To create a seamless looping animation, ensure that the first and last frames of your animation are identical. You can achieve this by copying the keyframes from the first frame to the last frame. Additionally, ensure that there are no abrupt changes in motion between the last and first frames. Using the Graph Editor to fine-tune the animation curves can help create a smoother loop.
**Q4: What are some tips for optimizing Blender scenes for faster rendering?**
A4: Optimizing your scene can significantly reduce render times. Reduce the polygon count of your models, use lower-resolution textures, and optimize your lighting setup. Also, consider using the Denoise feature in Cycles to reduce noise without significantly increasing render time. Experiment with different render settings and use the Render Region feature to test small areas of your scene.
**Q5: How can I create realistic water simulations in Blender?**
A5: Realistic water simulations can be achieved using Blender’s fluid simulation tools. Create a fluid domain and an inflow object to emit the water. Adjust the resolution and viscosity settings to control the behavior of the water. Experiment with different surface tension and particle settings to achieve the desired look. Using a high-resolution mesh and adding a realistic water shader will further enhance the realism.
**Q6: What are some effective ways to use Blender’s compositor?**
A6: Blender’s compositor is a powerful tool for post-processing your renders. Use it to adjust the color, contrast, and brightness of your images. Add effects like glow, blur, and lens distortion. Experiment with different compositing nodes to create unique and visually appealing effects. Compositing can significantly enhance the final look of your renders.
**Q7: How do I create a realistic metal material in Blender?**
A7: Creating a realistic metal material involves using the Principled BSDF shader. Set the Metallic value to 1 and adjust the Roughness value to control the reflectivity of the metal. Use a high-quality HDR environment map to provide realistic reflections. Experiment with different surface imperfections and scratches to add realism.
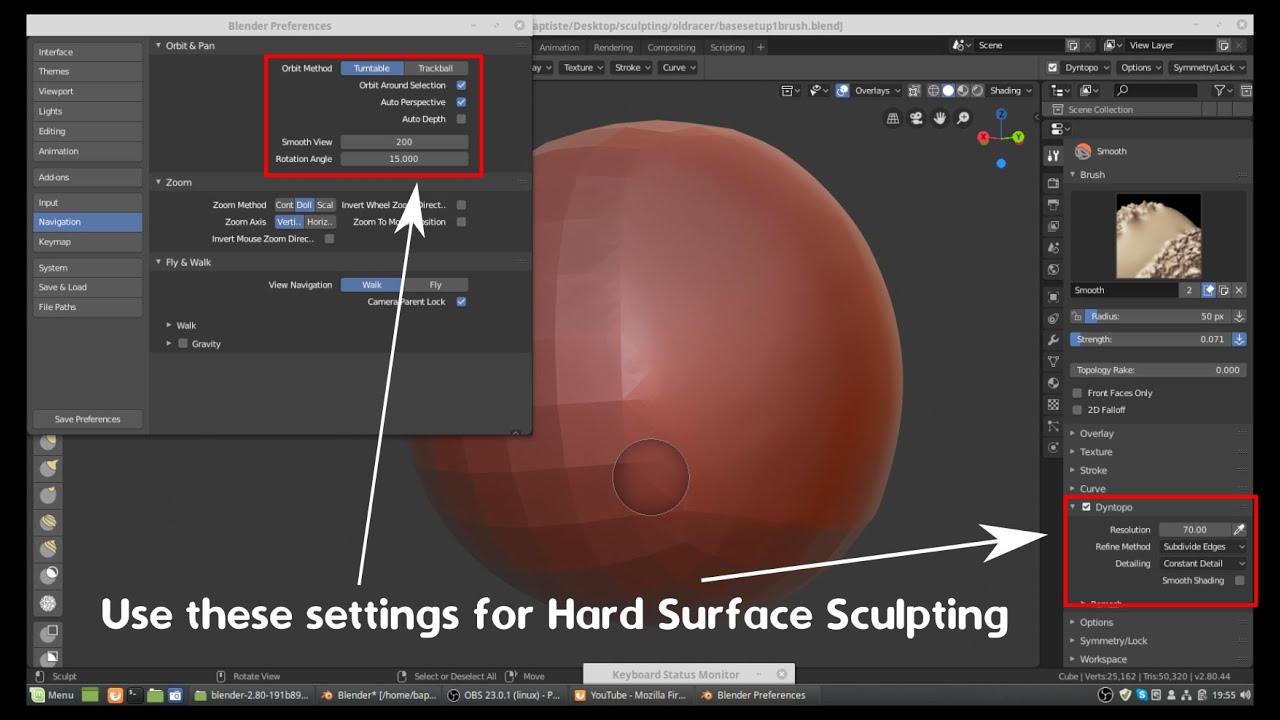
**Q8: How can I effectively use Blender’s sculpting tools?**
A8: Blender’s sculpting tools are great for creating detailed and organic models. Start with a basic shape and use the various sculpting brushes to add detail. Experiment with different brush settings and use the Dynotopo feature to dynamically add polygons as you sculpt. Using reference images and practicing regularly will help you improve your sculpting skills.
**Q9: What’s the best way to create a realistic grass field in Blender?**
A9: Creating a realistic grass field involves using particle systems. Create a plane and add a particle system to it. Use a grass object as the particle and adjust the settings to control the density, length, and variation of the grass. Experiment with different wind and turbulence settings to create a natural swaying motion. Using a high-resolution ground plane and adding a realistic grass shader will further enhance the realism.
**Q10: How do I create custom keyboard shortcuts in Blender?**
A10: Blender allows you to create custom keyboard shortcuts to streamline your workflow. Go to Edit > Preferences > Keymap and search for the command you want to assign a shortcut to. Click on the command and press the key combination you want to use. Customizing your keyboard shortcuts can significantly increase your efficiency.
Conclusion
Learning how to use Blender is an investment that can open up a world of creative possibilities. From modeling and animation to rendering and compositing, Blender offers a comprehensive set of tools for creating stunning visuals. By mastering the fundamentals and experimenting with advanced techniques, you can unleash your creativity and bring your 3D visions to life. Remember to leverage the wealth of online resources and community support available to you. So, dive in, explore, and start creating! We encourage you to share your Blender creations and experiences in the comments below. What are you working on, and what challenges are you facing? Your input helps us tailor future content to better serve the Blender community. Consider exploring our advanced guides for specific areas like character rigging or architectural visualization to further hone your skills.
